Care & repair guide
How to Measure Your Kitchen for Worktops
You only need three or four honest tape-measure numbers for an accurate estimate. The millimetre-perfect part is our job — the laser template is free.
There are two kinds of measuring in the worktop world, and mixing them up causes needless anxiety. The first is estimate measuring: rough tape-measure numbers — total run length, depth, island size — good enough to price the job within a sensible range. Anyone can do it in ten minutes, and this guide shows you how. The second is fabrication measuring: the millimetre-perfect digital template that the stone is actually cut to. You never do that one; we do, free, with a laser, after you accept the estimate.
So relax with the tape measure — nothing you measure today gets cut. Your numbers feed the instant estimator and our quotes; the laser template then catches every out-of-square wall, every bow and every quirk your tape could not see. That order of operations is why our estimates convert to fixed prices without drama.
What measurements do I need for a worktop estimate?
Four numbers: the total length of worktop runs in metres (add each section along the wall), the depth of the units (usually 600–700mm including overhang), the island size in length × width if you have one, and the linear metres of any upstands or splashback areas.
That is genuinely all the estimator needs, along with your material choice and extras like cut-outs — which you count rather than measure: one sink, one hob, and so on. Measure along the back wall at worktop height, include the bits that pass behind cookers, and do not subtract for the sink or hob; cut-outs come out of a full slab, so the stone is bought anyway.
How do I measure an L-shape or U-shape kitchen?
Measure each leg along its back wall, wall to end, and add them together — for an L-shape, leg A plus leg B; for a U-shape, all three legs. Do not worry that the corner gets counted "twice" at the junction; quote maths handles corners, and the laser template resolves them exactly.
For the estimate, the simple sum is accurate enough — the corner overlap is a few hundredths of a square metre either way. Note down which corner the legs meet in and where the sink and hob sit relative to it, because corner joints are planned around cut-outs (a joint should never run through one). If your layout has quirks — angled ends, curved sections, a peninsula — photograph them and mention them; quirks affect fabrication, not your tape measuring.
How do I measure for an island or breakfast bar?
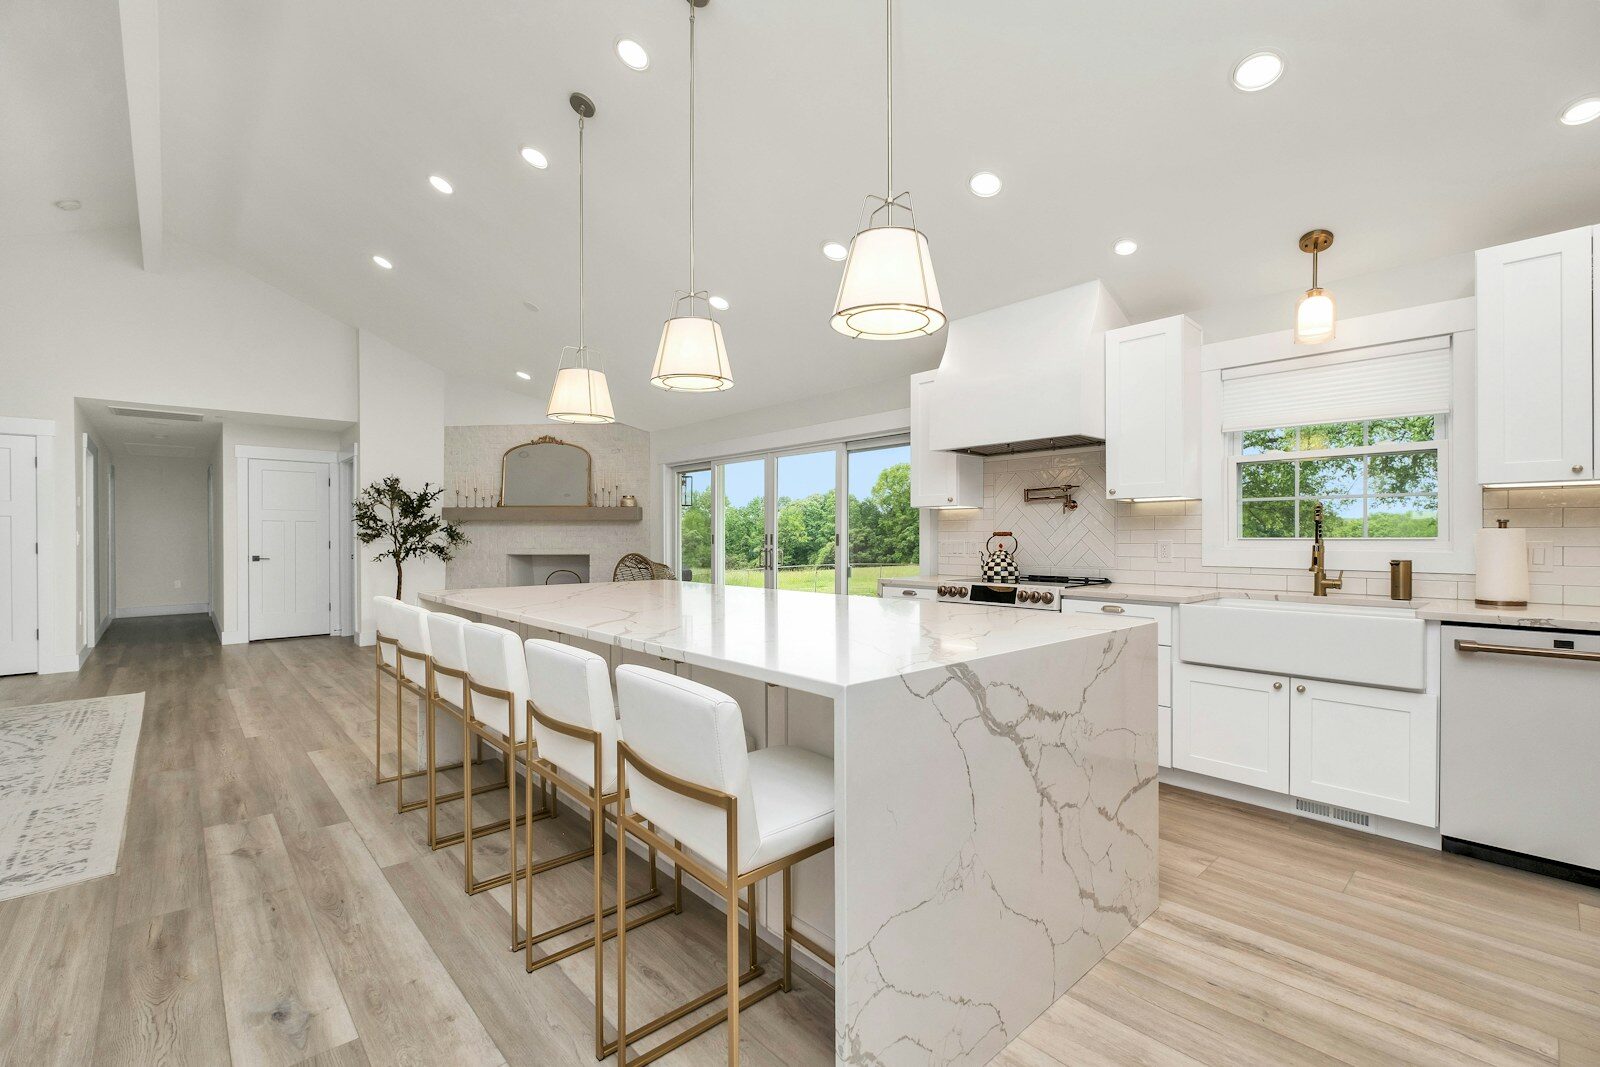
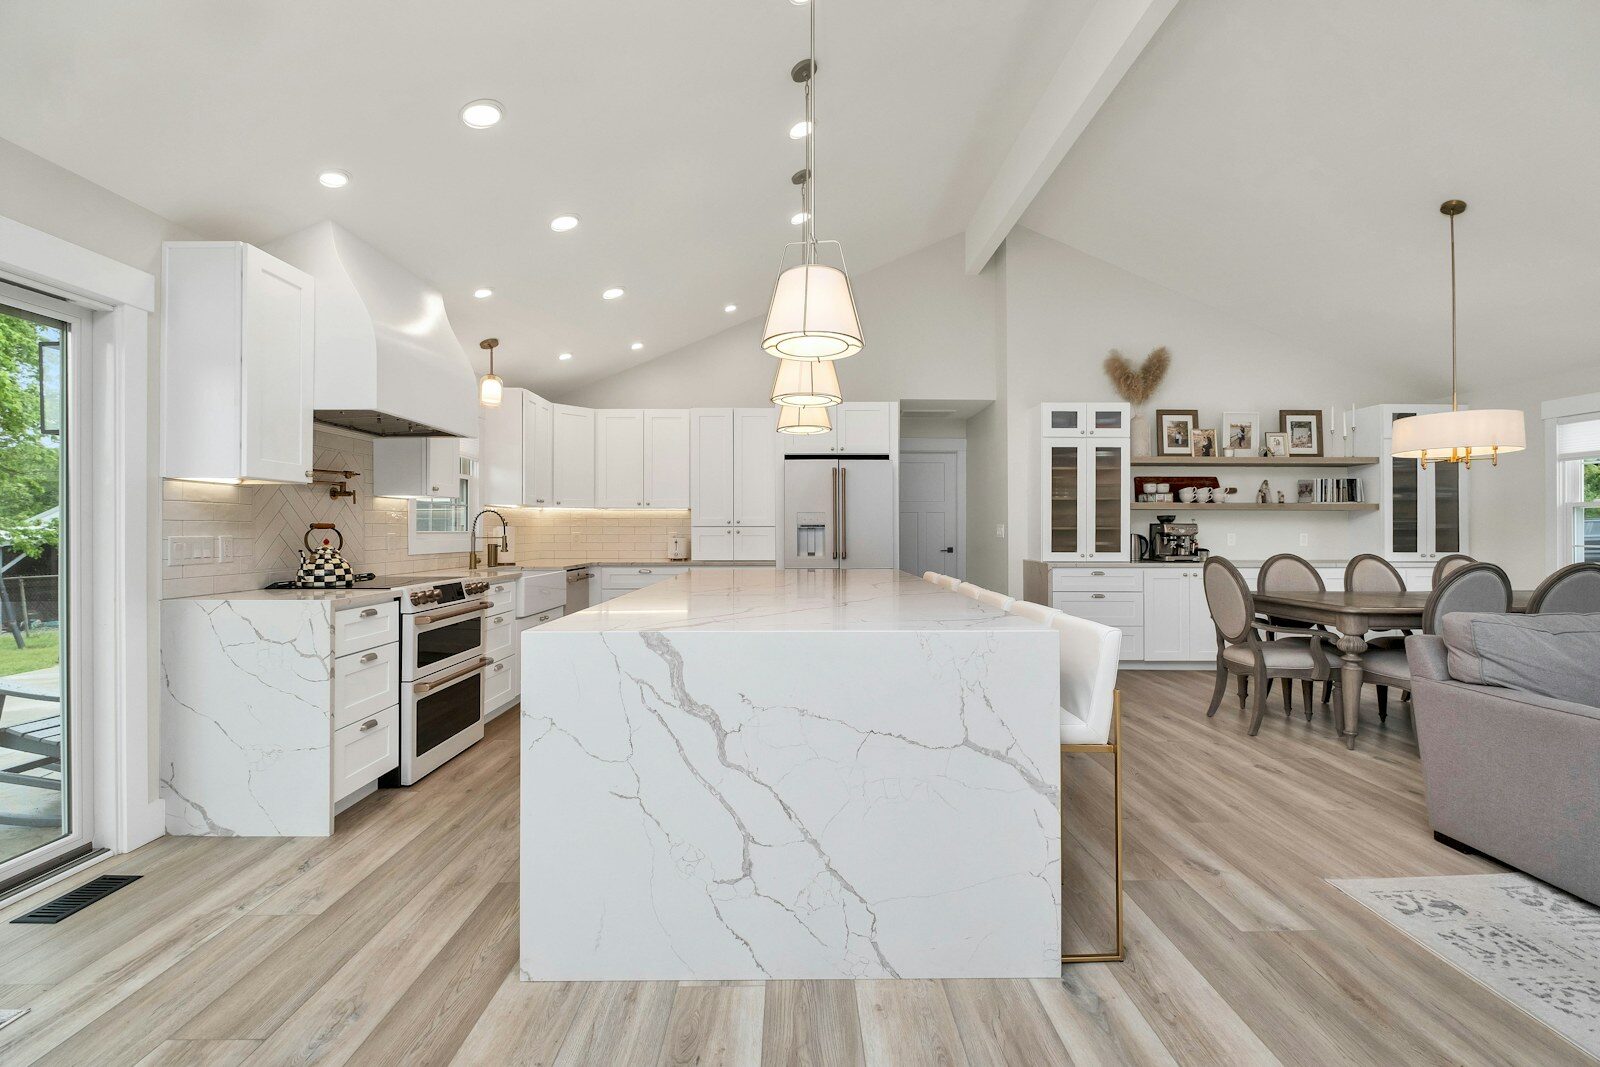
Length times width of the finished top, in metres — including any overhang for seating, which is typically 250–300mm beyond the cabinet on the seating side. If the island will have a waterfall end, measure its height from floor to worktop too (usually around 900mm).
Islands deserve a moment's design thought at this stage because they are the piece everyone sees. Oversized islands beyond roughly 3.2 × 1.6m may exceed single-slab sizes in some materials, which means either a planned joint or a different material with larger slab formats — porcelain comes in the biggest sheets. Flag a big island early and we will tell you which materials do it jointless.
What depth should I put into the estimator?
Measure from the wall to the front edge of your existing worktop — the standard options are 600, 620, 650 and 700mm. If you are replacing like for like, use what is there. If it is a new kitchen, 620mm is the modern default over 600mm cabinets, giving a comfortable overhang.
Deeper worktops (650–700mm) suit kitchens where the wall is uneven or where you want services hidden behind the cabinets, and they add area — hence cost — in a predictable, linear way. If different runs have different depths (common where a slim run passes a doorway), use the dominant depth for the estimate and note the exception; the quote and template will pick up the detail.
What does the laser template actually do?
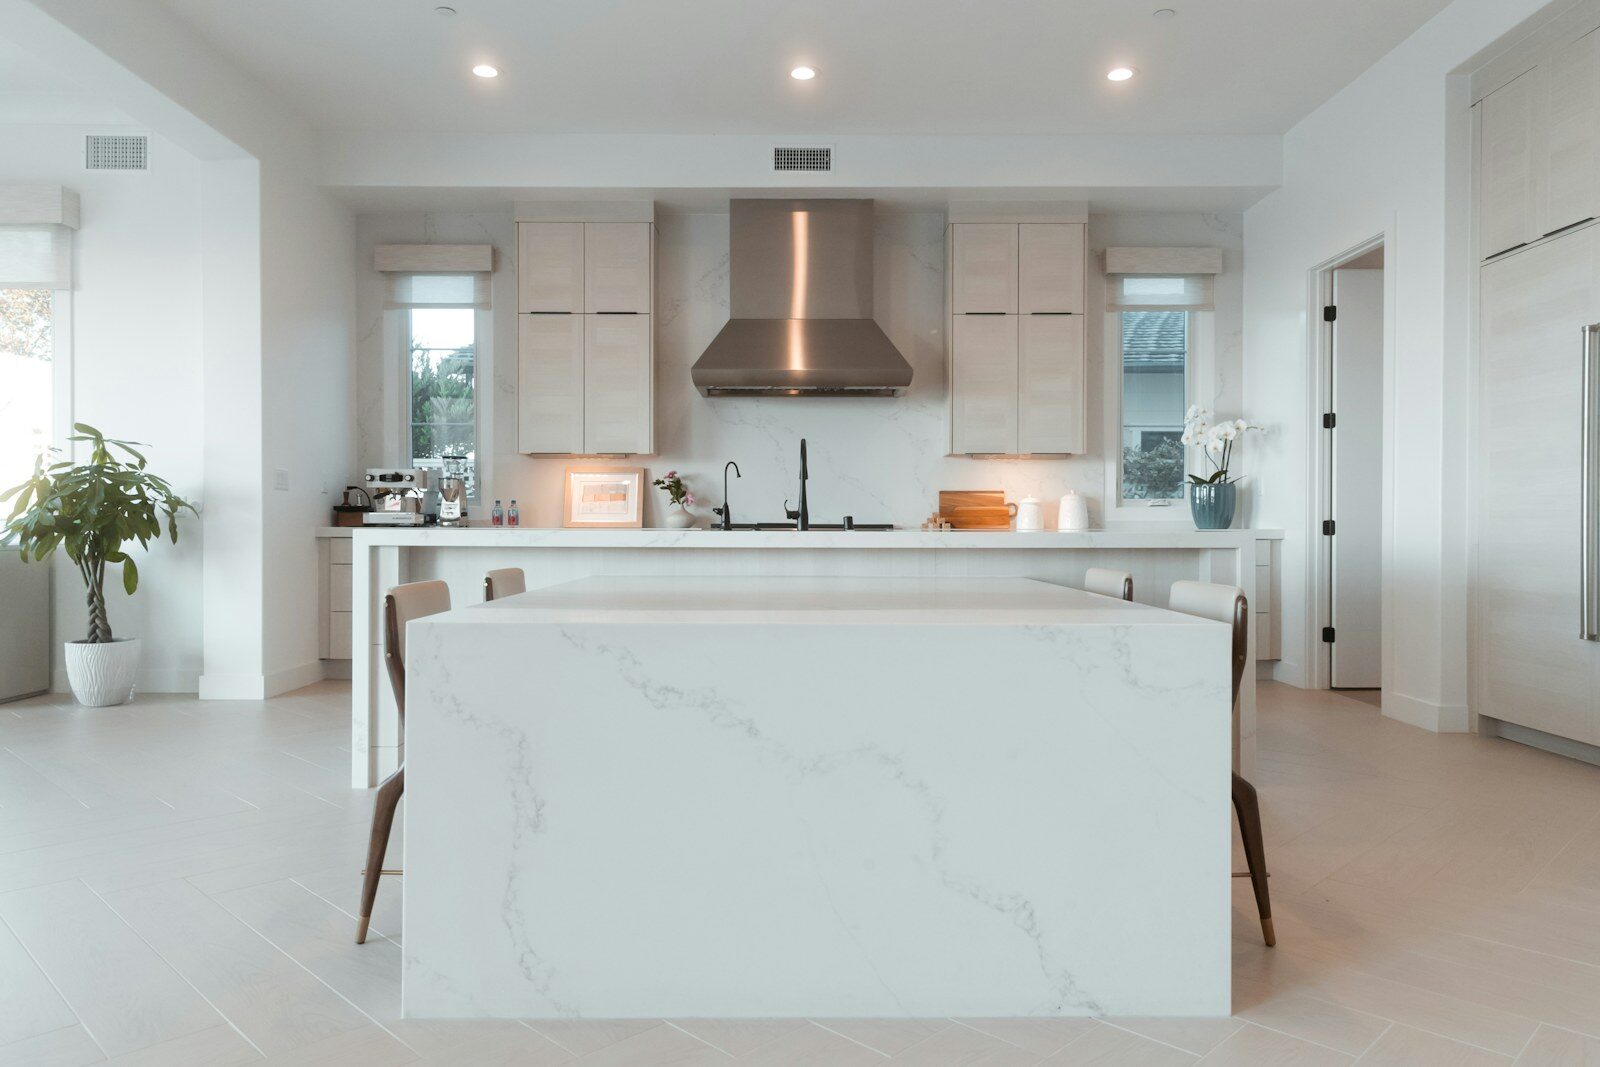
On the templating visit, a technician builds a millimetre-accurate digital model of your kitchen with a laser templating system — every wall angle, bow and out-of-square corner captured, every cut-out positioned from the actual sink and hob, every joint and overhang agreed with you on the spot.
That file drives our CNC machines directly: the stone is cut to your kitchen's real shape, not its theoretical one. This is why fitted stone hugs a wavy wall with a tight, even silicone line while a DIY-measured worktop shows a wandering gap. Templating is free, takes under an hour for most kitchens, and happens after you have accepted the estimate — it is the step that turns the guide price into your fixed written price.
How should I prepare for templating day?
Three things: base cabinets fitted, level and fixed in their final positions; the sink, hob and tap on site (boxed is fine — we template from the physical items or their paper templates); and old worktops ideally removed, or at least loose, where the new stone must meet existing surfaces precisely.
Templating off unfinished cabinets is the classic source of worktop delays across the trade — if units move after template, the stone no longer fits, and stone does not stretch. If your kitchen fitter is mid-project, coordinate the template for the day cabinets are done; we schedule precisely for this reason. Decisions worth making before the visit: edge profile, drainer grooves, upstand heights and joint positions — the technician will walk through each.
How long after templating is the worktop fitted?
Typically 7–10 days from template to installation. The digital template goes to the workshop the same day, your slab is cut, edged and polished on our CNC machinery in West Molesey, and fitting is booked as the stone comes off the line. Complex fabrication or special-order slabs can add a few days — flagged at quote stage, never after.
Fitting itself is usually a single day: dry-fit, adjust, bond joints, seal natural stone, and finish with a clean silicone line to the wall. Plumbers and electricians can reconnect the following day once adhesives cure. If you are sequencing a whole kitchen refit, the practical rule: template as soon as cabinets are set, and tile after the worktop and splashbacks are in.
FAQ
Your questions, answered.
What if my tape-measure numbers turn out to be wrong?+
Do I measure in millimetres or metres?+
Should I subtract the sink and hob from the area?+
Can you template before my new cabinets are fitted?+
Do you charge for templating if I do not go ahead?+
My walls are badly out of square — is that a problem?+
Related reading
 Instant EstimatePut your measurements to work in 60 seconds.Read
 Worktop Costs Guide 2026What your measurements will cost, band by band.Read
 Edge Profiles ExplainedDecide your edge before templating day.Read
 Kitchen WorktopsThe full supply-and-fit service, end to end.Read
- Islands & Breakfast BarsOverhangs, waterfalls and seating done properly.Read
- Talk It ThroughSend plans or photos for a quote from drawings.Read
Ready to price your worktops?
Get an instant guide estimate online, or talk it through with the workshop.